Showing posts with label Coconut. Show all posts

Friday, July 26, 2019

Coconut Cashew Protein Balls Recipe

I love LARABAR Original Fruit & Nut Bars. What's not to love about dates, nuts, and spices?  These bars are rich and decadent with good for you ingredients.  I often reach for a LARABAR when I'm craving something sweet and trying to be good.  Emphasis on trying.  Even though LARABARs are often sold among protein bars I would argue they are not a protein bar considering they average 3-5 grams of protein per bar.  However, what they lack in protein they more than make up for in flavor and texture.  LARABARs are soft and moist and not the protein bar bricks I grew up with that my mom used to share with our family dog during long runs.  Totally not making that up.  My former dog loved peanut butter flavored PowerBars.  She also loved GU gel, which at the time was the only soft protein product around.  Who else remembers the weird goodness that was GU?

I've been experimenting with recipes in search of making my own protein treat that's not a dry brick.  After a few failures (I gave up on protein cookies) I believe I finally achieved what I set out to do with this recipe.  These protein balls are soft and moist (I have to stop saying "moist") and don't have that artificial protein taste found in so many commercial protein goods.  I would describe them as LARABAR Cashew Cookie meets Trader Joe's Coconut Cashews.  And if you have tried either, they are both equally awesome.

You can still make these protein balls even if you don't have coconut flavored protein powder lying around.  Vanilla would be a substitute with a similar taste.   I'm sure chocolate would also be good, however, I'm more of a vanilla gal.  Actually I'm more sprinkles, but I've completely lost track of the direction of this post.  Just remember the flavor profile will be different if you use a different protein powder or nut butter flavor.  If you do go rouge, and we all know I'm a fan of going rouge, let me know how your protein balls turned out in the comments below.

Coconut Cashew Protein Balls 


Ingredients:
1/2 cup uncooked oatmeal
1 scoop coconut flavored whey protein powder, approximately 1/4 cup (I like and use ISOPURE Low Carb Protein Powder in Toasted Coconut)
3 tablespoons hemp seeds
1/2 cup unsweetened coconut flakes
4 tablespoons cashew butter
1 tablespoon agave nectar*
2-3 tablespoons water
Optional: extra coconut flakes to roll balls in

Directions:
1.  Put all ingredients except optional coconut flakes into food processor.  Pulse until ingredients are incorporated and dough is soft.  If dough is dry and crumbly add one tablespoon of water at a time until desired consistency is achieved
2. Roll dough into 1 inch sized balls
3. Optional: roll formed balls in extra coconut flakes

Enjoy immediately or bring these protein balls with you for an on the go delicious, protein-packed treat.

* For a sweeter protein ball use 2 tablespoons agave and 2 tablespoons water in above recipe

Wednesday, July 3, 2019

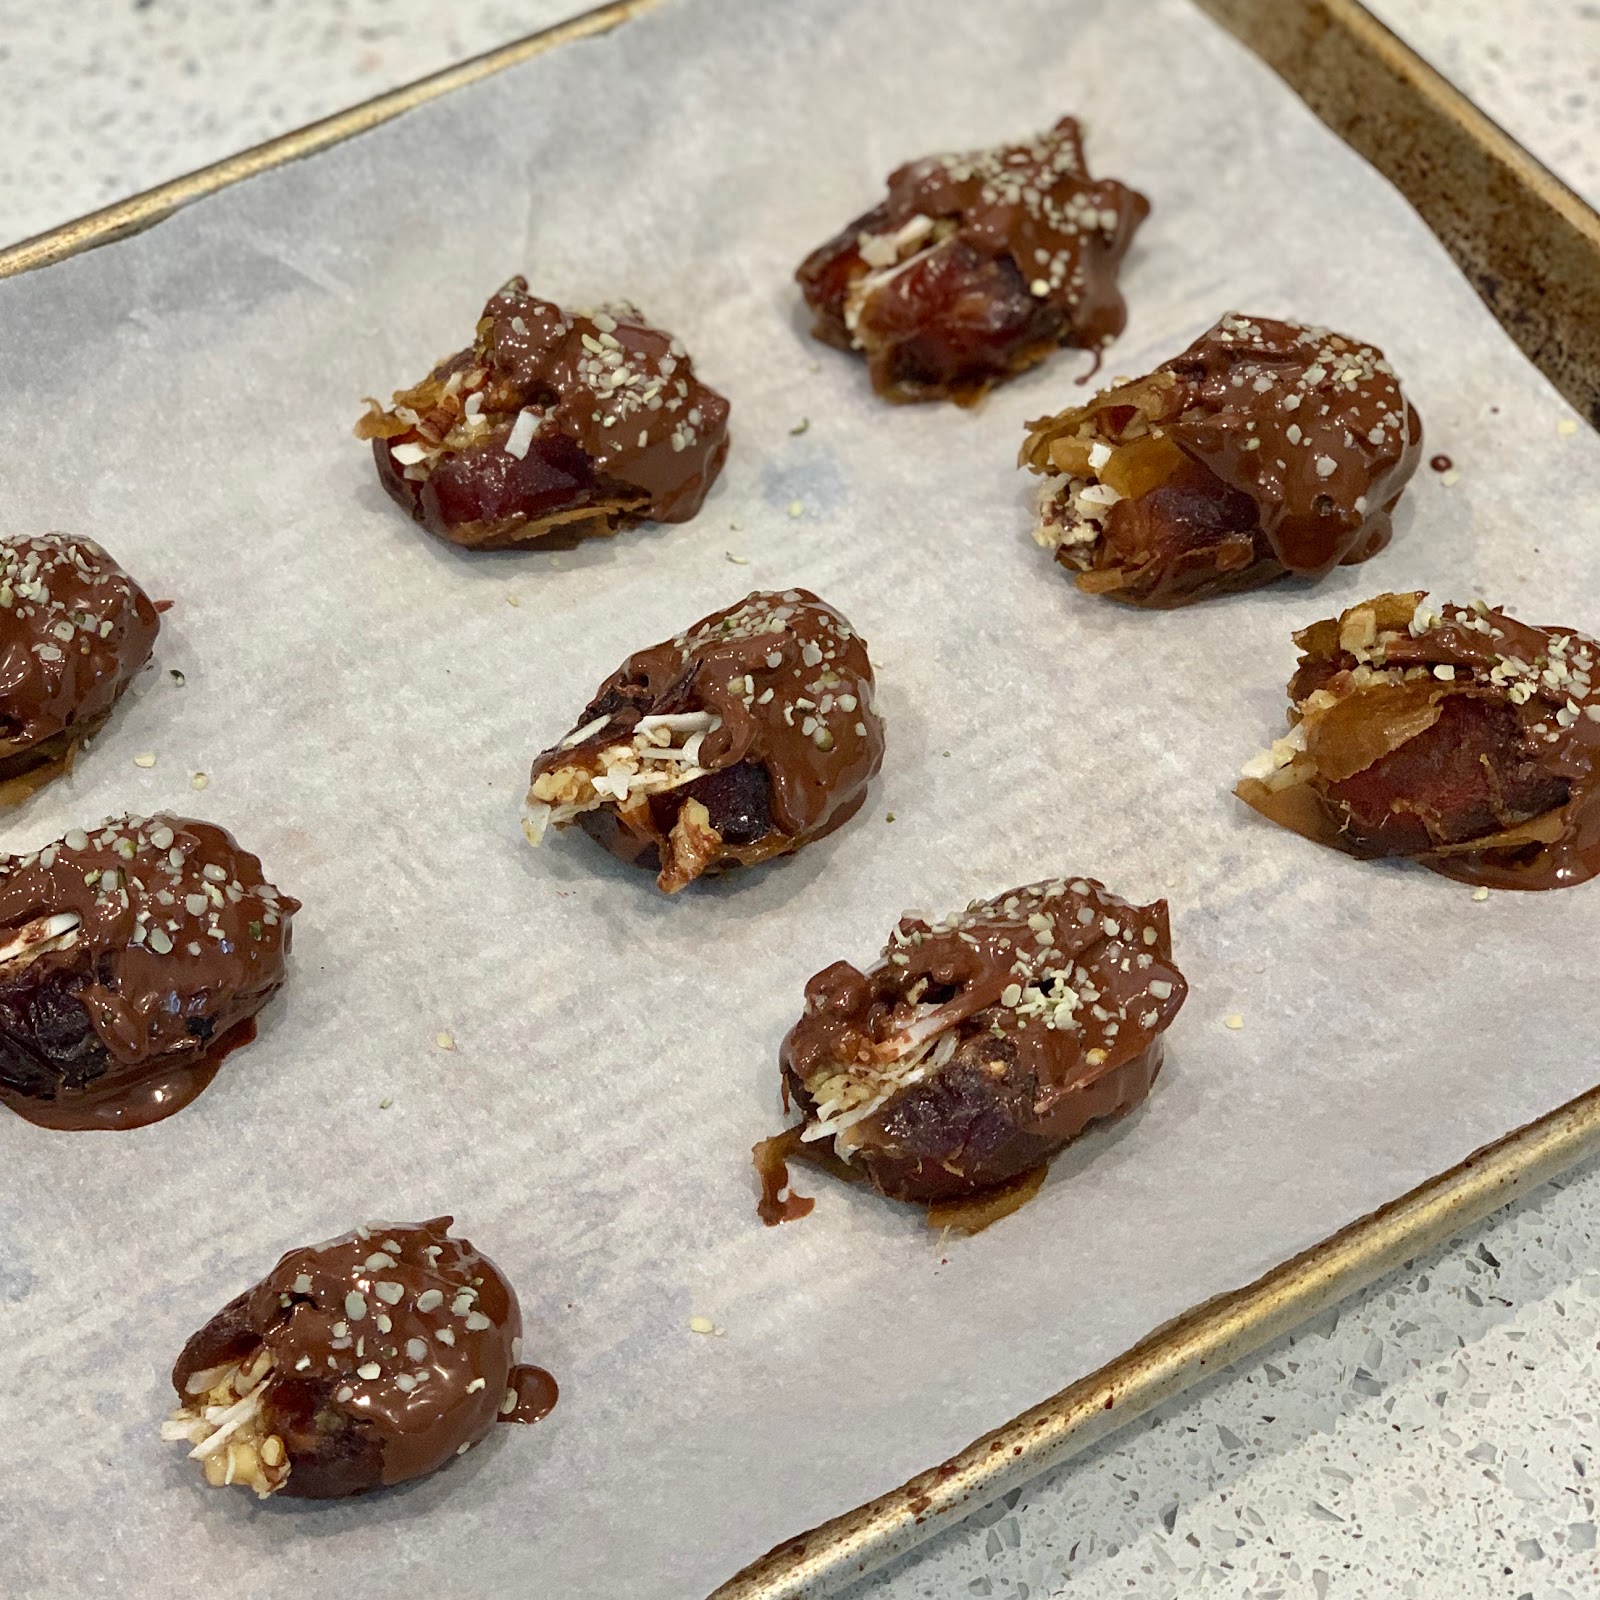
Chocolate Covered Coco-Nut Stuffed Dates


I keep saying I’m going to blog more, but life...  Speaking of life, these last two weeks with my new son, Luke, have been amazing and so much easier than with Carter.  But Luke already has a very different temperament than Carter, who had bothersome reflux and colic from earlier on.  Also this isn’t my first rodeo.  Anything is easier when you know what to expect. Like lack of sleep, breast engorgement, nursing every one to three hours with cluster feeding, changing 13-15 diapers a day… But it is all worth it! 


To get this little one into the world I casually tried a few wives tales to help make my cervix favorable.  Like eating date after date after date.  Did it work?  No idea.  But in full disclosure I couldn’t eat dates every day, let alone 6 dates a day, which is the recommendation for softening the cervix.  It’s not that I don’t like dates, I love them, but they are crazy calorie dense and I tried to save my calories for my nightly slice of carrot cake.  Don’t you judge me!  The pregnancy cravings are real.  And flash forward to two weeks postpartum and I’m still craving sweets, specifically those that are both salty and sweet like these stuffed dates.  But it’s all good since breastfeeding burns tons of calories... right?  Treat. Yo. Self.  I always do.  So why don't you take a page from my book and treat yo self to these delicious chocolate covered coconut and nut stuffed dates.

Chocolate Covered Coco-Nut Stuffed Dates


Ingredients:
  • 8 Medjool dates*
  • 1/4 cup chopped nuts (I used a mix of 1/8 cup walnuts and 1/8 cup pecans)
  • 1 tablespoon honey
  • 1 tablespoon unsweetened flake coconut
  • 1/4 teaspoon salt
  • 50 grams semi sweet chocolate chips or melting chocolate
  • 1 teaspoon coconut oil
  • Optional: hemp seeds
Directions:
1. Remove pit by slicing the dates lengthwise with a sharp knife to expose pit.  Remove pits and discard.  Set pitted dates aside until step 3


2. In a small bowl combine nuts, honey, coconut, and salt


3. Stuff each date with the nut mixture ensuring to pack the nut mixture into the dates 


4. Pinch the cut edges of the date closed over the nut mixture


5. Place dates on parchment lined baking sheet and place in freezer while preparing the chocolate dipping sauce

6. Melt chocolate for dipping.  I use a double boiler method by bringing 1 inch of water in a small sauce pan to a boil. As water boils add chocolate and oil to a small glass bowl. Once boiling, place glass bowl over sauce pan (the glass bowl should sit above the boiling water, but not touch it)


8. Stir chocolate and oil frequently until melted and incorporated.  Remove melted chocolate from heat and immediately go to step 9


9. Remove dates from freezer and dip stuffed dates halfway into chocolate.  Place dates back on parchment lined baking sheet to harden


Optional: You can stop at step 9 before placing dipped dates in fridge to harden or you can add a few sprinkles of hemp seeds while chocolate is still warm for added crunch and contrast of color (aesthetics people)


10. Place finished dates in fridge until chocolate sets, approximately 10 minutes.  Leave in fridge until ready to serve


And enjoy!  Preferably with a glass of something bubbly and fabulous.  


I dare you to try to eat just one.

* This recipe is best with fresh dates, however, if your dates are starting to dry out you can add life to them again by soaking them in hot water for a minute.  Dry dates thoroughly before stuffing.  

Tuesday, July 18, 2017

Greens in question

Today I only ate veggies at breakfast.  I had plans for a nice pesto pasta for dinner, but my husband and I had to go to the store for supplies for a time sensitive house project.  So we ate at the diner.  You know, tough life.

My CSA email said that this week's box contained both spinach and chard, however, I only received one bag of questionable loose greens.  I figured that the bag was a mix of both greens and after washing the greens (how I wash greens here) I had a feeling it was chard, but stayed optimistic that it could be mixed with spinach leaves as advertised.

Wrong!  I should have known by the yellow stems...


This is now the second time I was told that my CSA box contained spinach only to find out that it was chard by the taste.  And there is nothing more off putting then taking a sip of your delicious green drink only to taste dirt.  It's not that I don't like chard, I just don't care for it in my green drink as it has a very "earthy" taste.  Earthy is great in a salad, and I love roasted beets with cheese, but earthy is not so great in a drink.  For those of you who stumble across this post I would love to know any suggestions for incorporating chard into a green drink without having to add tons of sweetener to mask the taste as I fear I will have more chard to come throughout this season. 

Remaining veggies:
- Mixed greens
- Yellow squash and 2 zucchini
- Purple onion
- Swiss chard
- Bag of basil
- 2 cobs of corn

Saturday, August 1, 2015

Gluten Free Mock English Muffins

I first went gluten free around 2010 when I was having stomach issues.  I felt better, but it was hard for me to maintain that type of lifestyle with a partner who didn't want to go gluten free and trying to maintain a social life.  Back then there was gluten free products, but not many.  So I quickly abandoned that way of eating.  Fast forward to today.  My stomach issues never went away I just learned to deal and stop complaining about them because frankly no one cares if your stomach constantly hurts or you always feel bloated.  People have their own issues.  I have been gluten free for a few weeks now and I have felt great.  Granted I "cheated" and ate wheat products for a few days and felt like utter crap.  What I have come to realize is that cheating for me isn't worth it.  It takes my body much longer to recover when I indulge.

One of my challenges is that my husband does not eat gluten free.  He likes what he likes and I have to respect that just like he has to respect that I need to eat this way for my well being.  So I have been experimenting with many different recipes to make a gluten free friendly bread that makes a single serving.  I have finally made one that I feel is worthy of sharing.  My secret?  Chia seeds.  Chia seeds not only absorb excess liquid, but they are natural binders.  When I started adding chia seeds I found that my bread held much better, but still maintained substance while being light and airy.  This recipe is great for the bread component of many sandwiches from grilled cheese to BLTs to PB&J and a juicy burger.

Gluten Free Mock English Muffins / Buns
Ingredients:

  • 1/2 Tablespoon melted butter + 1/2 Tablespoon butter for toasting muffin
  • 1 Tablespoon coconut flour
  • 1 Egg
  • 1 Tablespoon almond milk (or milk of choice)
  • 1 Teaspoon - 1/2 Tablespoon chia seeds (based on preference)
  • 1/2 Teaspoon baking powder

Serves: 1 bun or 2 halves

Nutrition: 194 cals, 5 g carbs, 1 g sugar, 4 g fiber, 18g fat, 8g protein (I used 1 teaspoon of chia seeds and unsweetened vanilla almond milk...nutrition may vary based on ingredients used.)

Directions:
1. Combine 1/2 Tablespoon melted butter, coconut flour, egg, and almond milk in a microwave safe small ramekin.  Make sure to mix until combine, but don't over mix.
2. Add in chia seeds and baking powder.  Mix until combined.
3. Cook for 1 minute 30 seconds on high.  Carefully take out the ramekin as it will be very hot! 
4. With a sharp knife loosen the edges of the muffin from the ramekin.  Allow the muffin to cool for about 5 minutes.
It's ok if your muffin has a bubble or is not completely flat.  We can fix this...see notes.  
5. Meanwhile melt 1/2 Tablespoon butter in small pan over medium heat.
6. Invert the ramekin on a cutting board.  The muffin should fall out in one solid piece.
  7. Cut the muffin in half with a sharp knife.
8. Cook each muffin side until golden brown, about 2-3 minutes depending on your heat.
9. Enjoy with the fillings of your choice.
Today's craving: a grilled cheese and avocado.  It's amazing and caloric!    

Notes:
  • If making something sweet try substituting coconut oil for butter in recipe.  Also try adding some sweeter.  
  • Any type of milk may be used.  I often use half and half or coconut milk instead of almond milk depending on what I have available.  
  • Use more chia seeds if using milk and less if using thicker consistency milks like coconut milk.  Remember: chia seeds will absorb liquid and are a great binder, while keeping these muffins light and airy.  Too much chia seeds, however, will make these muffins denser.  
  • If you are making a melt,  place whichever side of the muffin you don't want to be seen (i.e. the bubble) in the pan first since you still want to toast each side of the muffin.  That way when you flip the "the bubble side" over to toast the edge you want to be exposed, "the bubble side" will be warm enough to begin melting the filling of choice (see picture under step 8).  When I make my grilled cheese I like to let the cheese start to melt open face then close the sandwich and continue grilling and flipping each side until the cheese is melted.  This helps to ensure the bread browns, but not burns.  Just make sure to keep a close eye on it.  

A sweet muffin recipe will be add in the near future.