It's a billion degrees up in here. It is so hot here in New Jersey that we have a heat advisory, which means stay inside. Keeping a super active almost 23 month old entertained all day is a challenge (this is why we have the wonderful thing that is daycare). Normally we spend lots of time outside so Carter can run, run, have a snack, drink water, and run some more. But keeping him entertained all day inside while breastfeeding his month old brother seems nearly impossible. This is where projects come in.
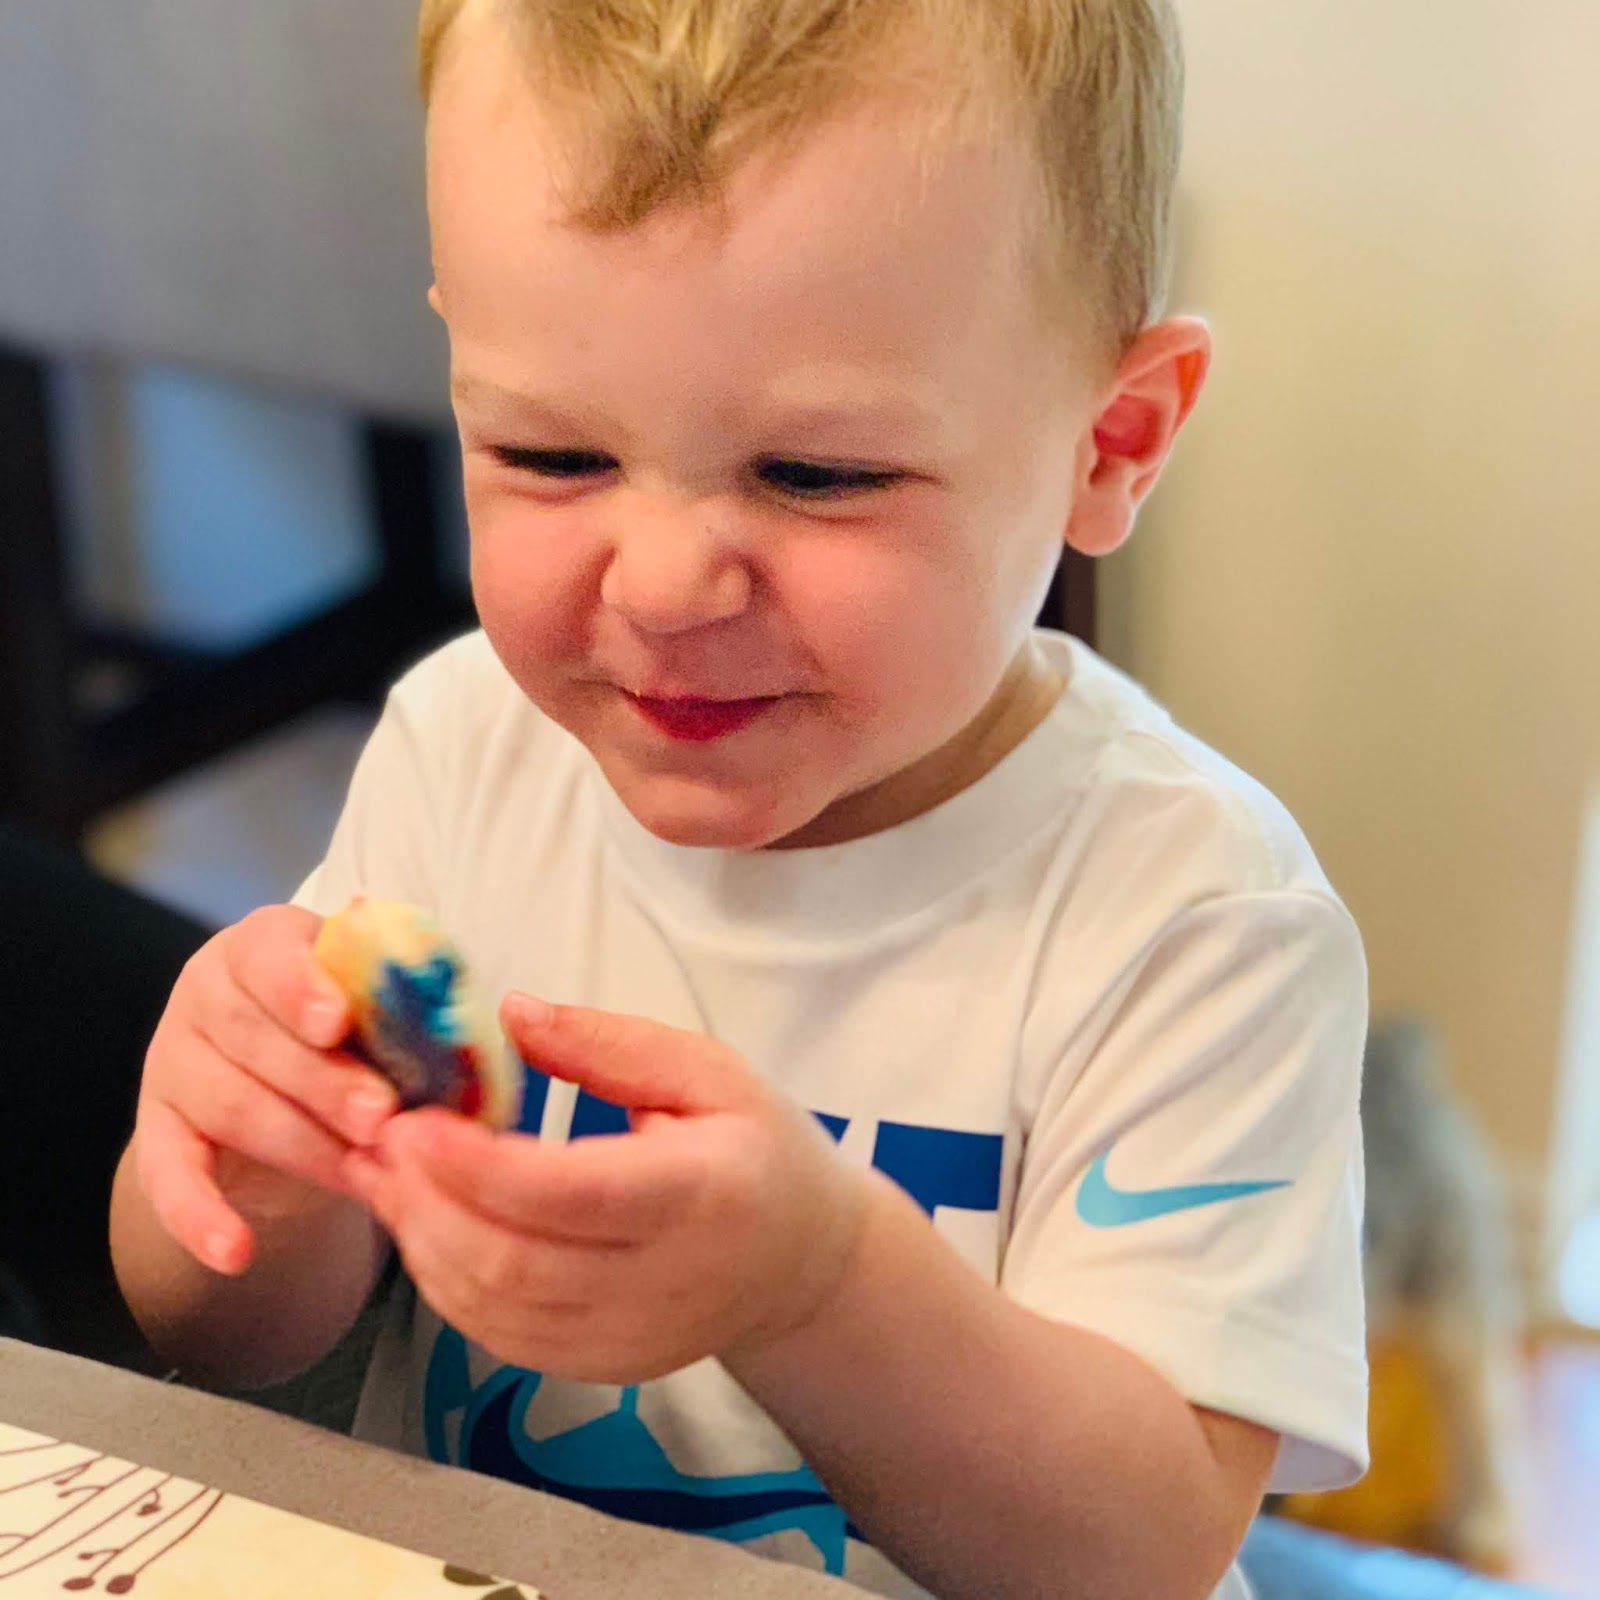
Carter loves projects where he can help. Seriously my son is the best little helper. He loves to "help" sweep the floor, wash dishes, and load and empty the dishwasher, all with supervision. He is also starting to get into cooking and baking, although his attention span is limited if a recipe requires too many steps. That's why this recipe is perfect. While you could make your own sugar cookies, I use premade dough, which I cook and cool before it is time to glaze. I love the kid, but he doesn't need to learn how the oven works yet. These cookies need to set so I highly recommend making them before nap time so they are ready to enjoy once your little one wakes up. And lastly, make sure you have some wet paper towels on hand to clean those little fingers, because if your child is like mine, then half the fun is getting the glaze all over your hands. I get it. Glaze feels like slime and slime is life. Just don't be like me and lick the glaze off your fingers in front of your mini me because monkey see, monkey do and Carter is at the age that if he sees you do something once he will do it again and again. You have been warned.
Super Easy Tie Dye Sugar Cookies Recipe

Ingredients:
- 16 ounce sugar cookie dough
- 1/2 cup powdered sugar
- 1 teaspoon light corn syrup
- 1 tablespoon water
- Food coloring
Toothpick
Directions:
1. Bake sugar cookies according to package directions. Allow to completely cool before making glaze
2. Make glaze by combining powdered sugar, corn syrup, and water in a shallow dish. Mix until glaze is smooth and thin, but not runny. If needed add water 1 teaspoon at a time to reach desired consistency

3. Add drops of food coloring of different colors into glaze

4. Drag a toothpick through food coloring in various directions to get a marbled look


5. Dip tops of cookies into glaze and place back on cooking sheet and or wire rack to set, approximately 1 hour

6. Enjoy with a nice cold glass of milk
As always mom tested, Carter approved!